
featuring the work of Stacie Johnson-Leske |
|||||||
| Home | About Me | My Process | My Glazes | Where to Find Me | Weddings | F.A.Q.'s | How to Order |
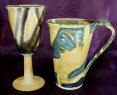 Mugs & Goblets |
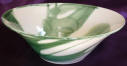 Bowls |
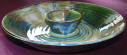 Chip and Dips, Plates & Platters |
 Textured Pieces |
 Candles & Vases |
 Custom Pieces |
 Emblemware |
 View Basket |
|
The Process
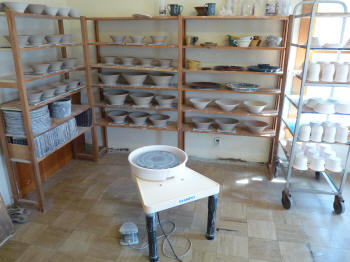
Creating wheel thrown ceramics involves more than throwing a lump of clay down on a wheel and hoping the piece doesn’t go flying off and hit a wall. There are many steps to the process - First, one has to choose the clay or clays that work best for you. Not all clays are created equal and one type of clay may be more appropriate to the style of a specific artist than another. Clays can be gritty or smooth, and vary in color from white to reds and browns to black. I primarily use a clay called Virginia Dogwood. It is a very smooth clay with no grog (grit) and is very elastic in nature. This elasticity and lack of grog allows me to create thin walled and lightweight yet strong pieces. When wet, it is gray in color, but after firing it is a brilliant white. I also use a black stoneware clay called Black Walnut to create my black and white swirl pieces. Each piece starts out as a ball of wet clay. The ball is placed on the wheel and then it is centered, a process of pressuring the clay into a radial symmetry, so that it does not move from side to side as the wheel head rotates. Next it is manipulated
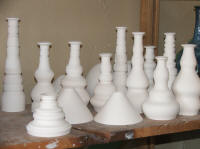
When the bisque pieces are taken from the kiln, I wipe them down with fresh water in order to remove any dust or dirt and then a coat of liquid wax is applied to the foot of the piece. This allows a piece to be dipped into the glazes without the glaze sticking to the foot. The porous nature of the piece allows the liquid glazes to soak in and firmly adhere to it. After glazing is complete, I wipe the foot rim clean of glaze and set the piece aside so that the glazes can dry completely. The cleaning, glazing and drying of a bisque piece can take from one to three days depending on the intricacy of the glaze technique applied. For more information on the glaze colors and techniques I use, please visit the My Glazes page.
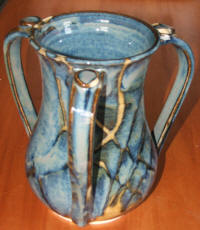
After glazing, the pieces are returned to the kiln for the final (high) firing. I fire to cone 6 (approximately 2,232 degrees Fahrenheit). It is during this firing that the true colors of the glazes come out. For example, after dipping a bisque piece in my blue glaze, the surface of the piece will look to be a dull brown color. It is only through the second firing that the piece is revealed to be a glossy bright blue. Also, during this second firing, the clay is rendered non-porous and will hold liquid whether glazed or unglazed. The entire creation of a piece from start to finish will take between 2 and 4 weeks depending on complexity of the piece and the amount of work waiting to be done. |
||||
|
143 Main Street, Ridgway, PA 15853 |